Moving Inside
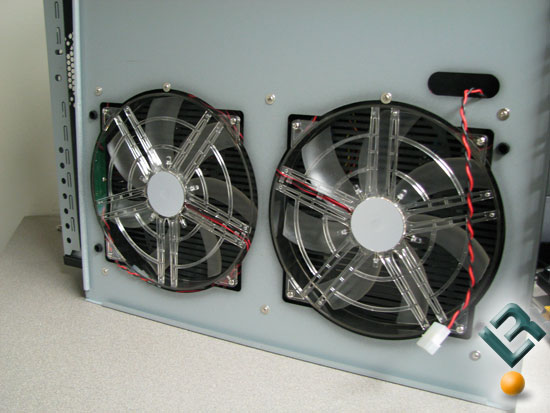
First, looking at the inner side of the side panel we can see the side fans are powered with 4 pin connectors. There is enough length to allow you to easily take the panel on/off and not strain the wiring.
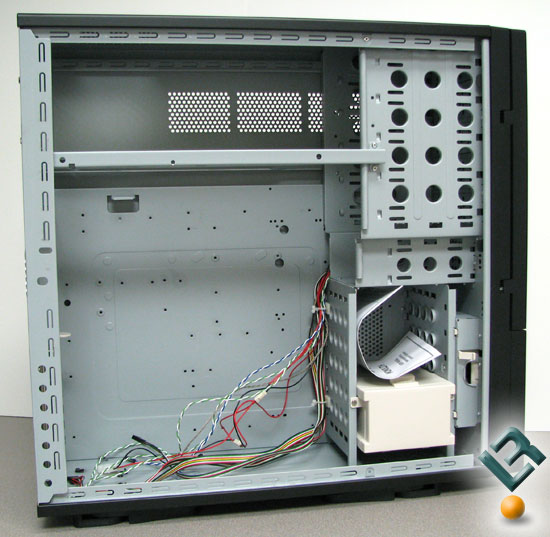
After removing the side panel we can get a good look at the space the CS-Monolize has. Since the CS-Monolize supports extended ATX then we should have no issues with current high-end full length video cards not fitting.

Looking closer at the drive cage we can see the accessory box. Inside it are all the drive rails and mounting hardware. CanĄŻt say I care to much for the color of the drive rails, although itĄŻs nothing little paint wonĄŻt fix. The box is also removable to allow full use of all six hard drive bays.
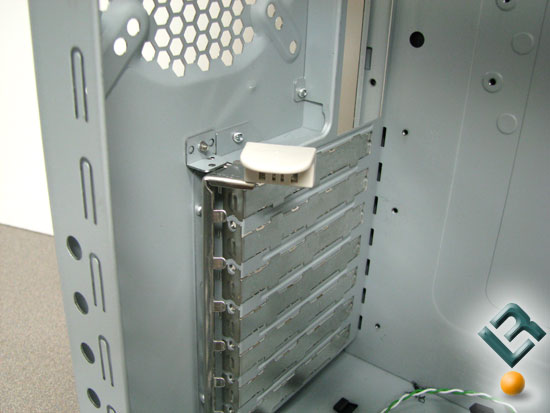
Moving to the back we can see the expansion slots are tool-less. The retaining clip/bar swings away to allow access to the cards. The retaining system applies a good amount of pressure, but if you prefer to go old school and use screws the retaining system can be removed very easily.
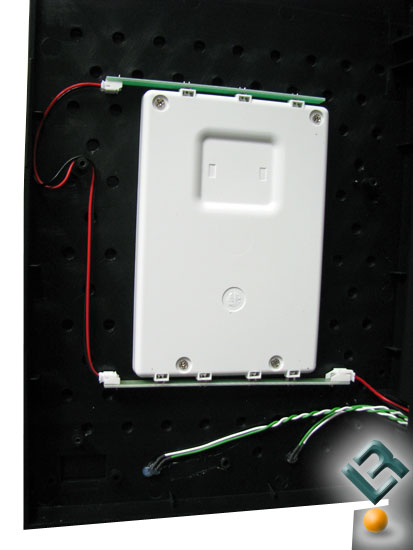
Looking inside the front door we can see the wires running to the power and hard drive activity lights. The big white box is the for the A+ logo. With the door being almost an inch thick I could see case mod guys/gals pulling that logo and putting in a screen of some kind.
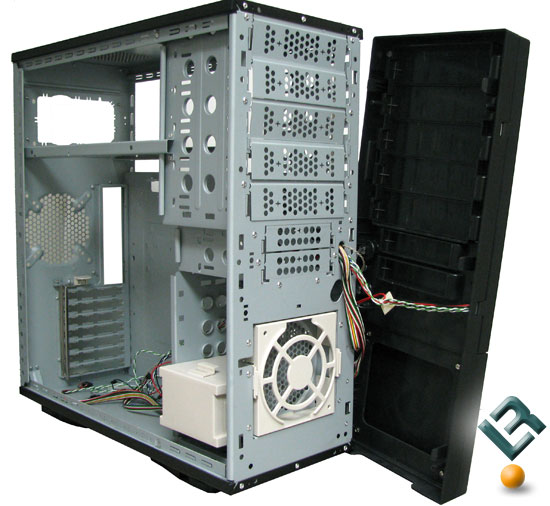
With the front bezel pulled off we can see the front 120mm fan mount.
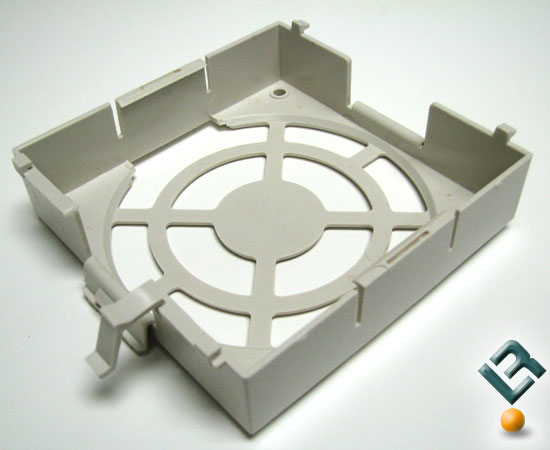
The fan mount is tool-less, but also give you the option to use screws to hold the fan in place.
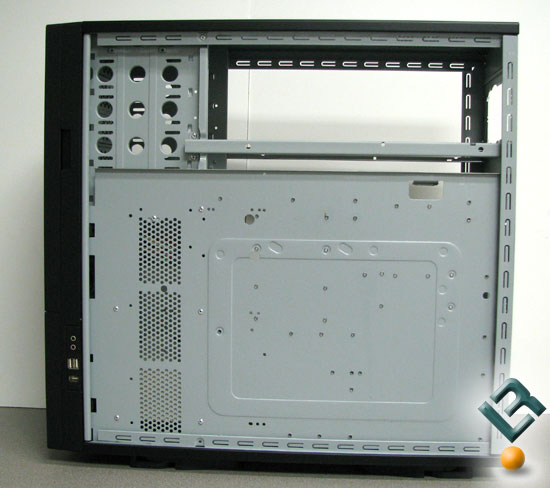
With the right side panel removed we can get a look at the back side of the motherboard tray. There is not much in the way of room for hiding wires here, as well as no pass through holes. It could be interesting hiding the PSU wires for that clean look. We can also see there are vent holes in the tray that are in line with the hard drive cage. This should allow air to flow around the drives and straight out the side of the case.

