BIOS Configuration
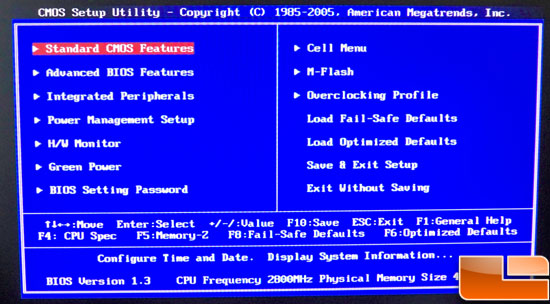
This is the primary screen of the MSI P55-GD65 BIOS. It uses an AMI BIOS. Most of your time will be spent in the Cell Menu.
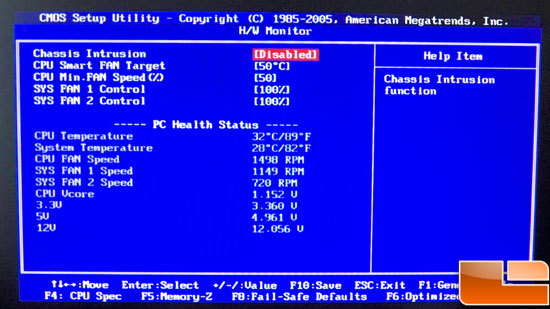
This is the Hardware Health monitor menu. You can monitor various temperatures, voltages, and fan speeds here to be sure that your system is healthy before we get to overclocking.
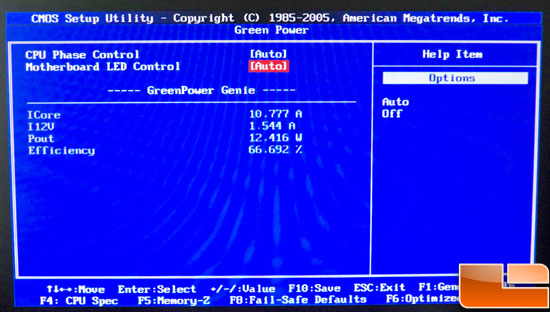
This is the Green Power menu. MSI has been working on lowering power consumption when the system isn't doing anything. Here you can enable and disable the Green Power options. If you don't plan to overclock you'll likely want to keep these enabled.
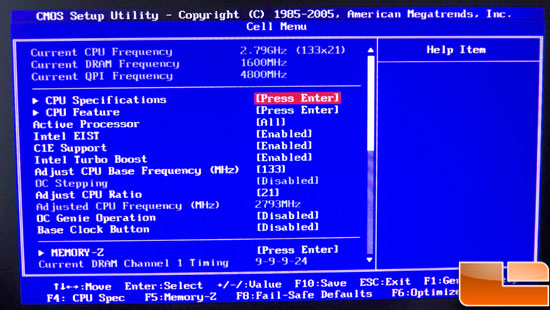
Finally, we make it to the top of the Cell Menu. Here we can see a number of things, like current CPU, Memory, and QPI speeds. You can also set Turbo mode, EIST, multiplier, and Base clock here.
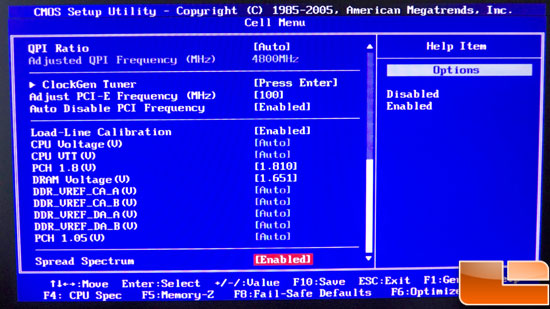
This picture is further down the page of the Cell menu. Here you can see a number of voltage settings that can be changed.
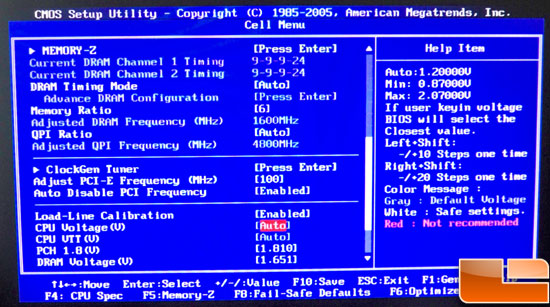
On the right, you can see the voltage range that can be set for the CPU. With up to 2.07v available, it has more than we'll ever need!
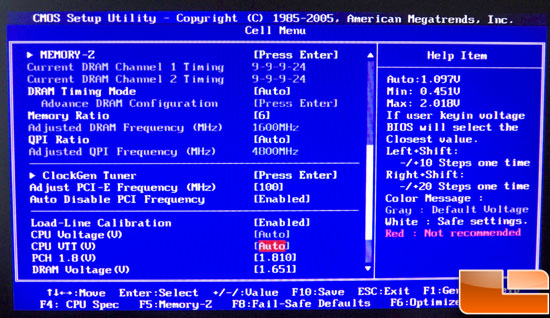
Here is the CPU VTT voltage range. Again, far more available than we'll ever need.
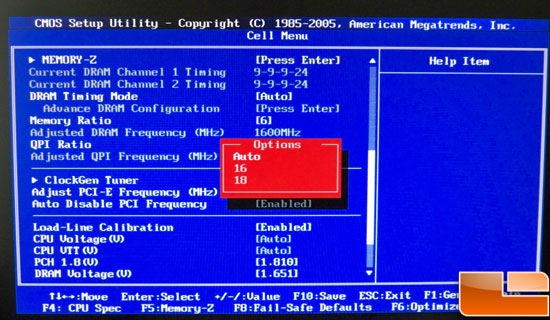
Here are the two multipliers available in QPI. If you are shooting for 4GHz or higher you'll want to go with the 16, or just leave it on auto and the system does a great job of managing this for you.
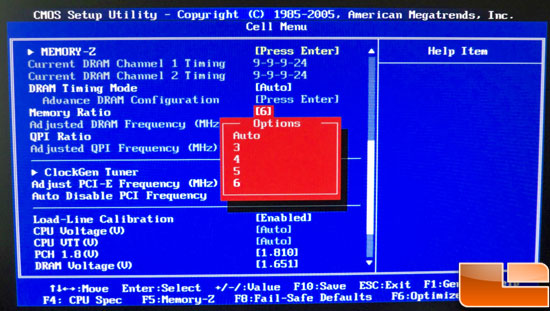
Here we can see the memory multipliers. With a 6x at the standard base clock of 133, we get 1600MHz. Just above the red highlighted area you can see the options to configure the memory timings. Memory-Z will show you the memory's SPD settings in case you've forgotten what your memory has a profile for.
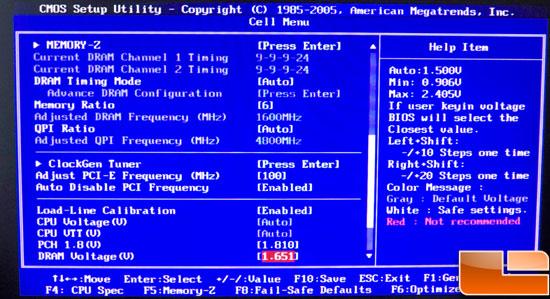
At the bottom in the highlighted area we have the memory voltage option. On the right you can see the range available. 2.4v is, once again, far more than most of us will ever use.
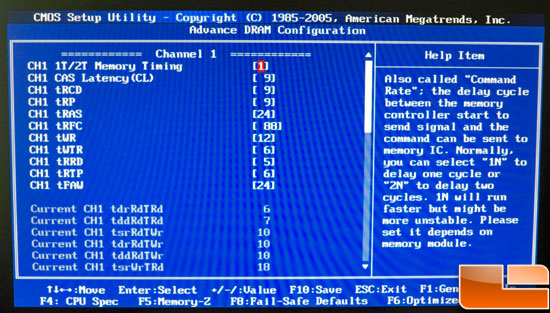
Here is the memory timing menu that we mentioned above. Notice that this BIOS requires you to change the memory timings by the channel. You can see we are looking at channel 1 here; simply scrolling the menu down gets you to channel 2.
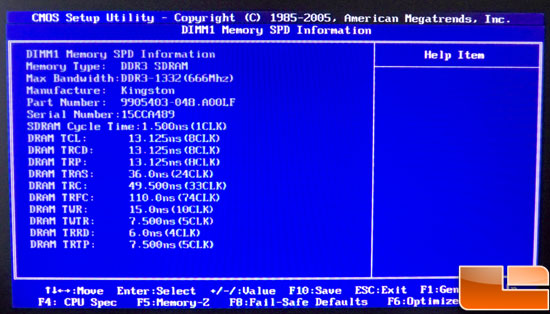
This is the memory "SPD" that we mentioned above.
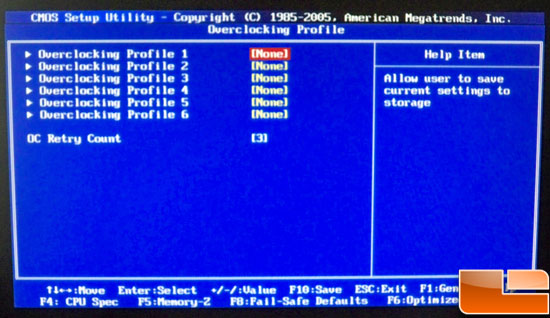
Finally, we have the Overclocking Profile menu that is available from the first BIOS screen. Save your overclocks here so that you always have the settings available in case you are testing out different settings and need to get back to an overclock that is stable.


