Inside the CM690 II
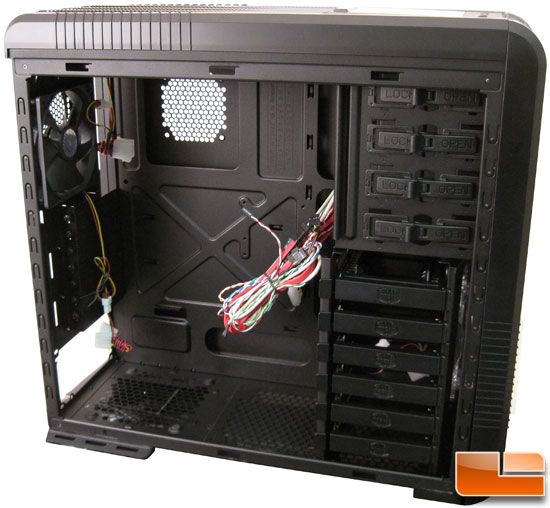
Moving inside the CM690 II we can get a good look at the internal layout. There is plenty of room for just about any cooler or video card on the market today.

Looking closer at the front drive bays we can see there are six hard drive bays and five 5.25�drive bays, all completely tool-less. One 5.25�drive can be converted to a 3.5�drive with the included drive adapter rails. To the inside face of the hard drive cage there are mounts for a 120mm fan. This will be nice as it will allow for a fan to help pull air though the drive cages and onto the video cards.

There is also a dual 1.8/2.5�drive adaptor included. This adaptor will allow two 1.8 or 2.5 inch drives to be installed in one of the 3.5 inch hard drive bays.
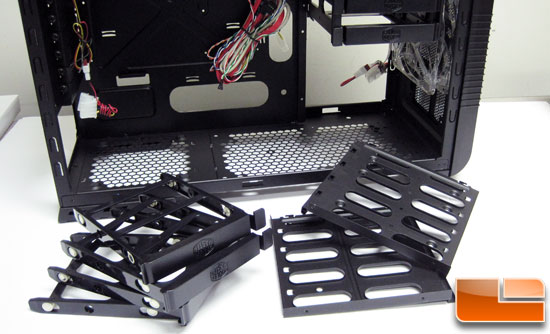
To make a little more room for things like a bottom mounted radiator or to have a little freer air flow to the case, the lower 4 hard drive bays can be completely removed, leaving the top two drive bays for hard drives. This is done by taking out 8 screws that hold the drive bay sides in place. To do this in the past meant breaking out a Dremel or hacksaw. Removing the drive bays gives you enough room for a 240mm radiator or dual 120mm fans.

Looking towards the back we can see the expansion slots and rear fan. All the included fans have a 4 pin molex to 3 pin converter. The expansion slots are tool-less as well with the thumbscrews.
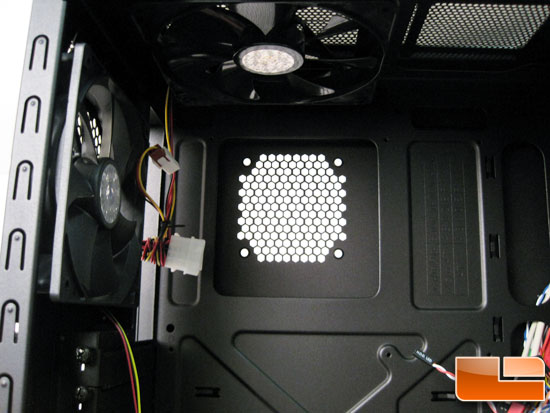
Looking at the motherboard tray we can see the right side panel fan mount somewhat centered in the CPU back plate access hole.
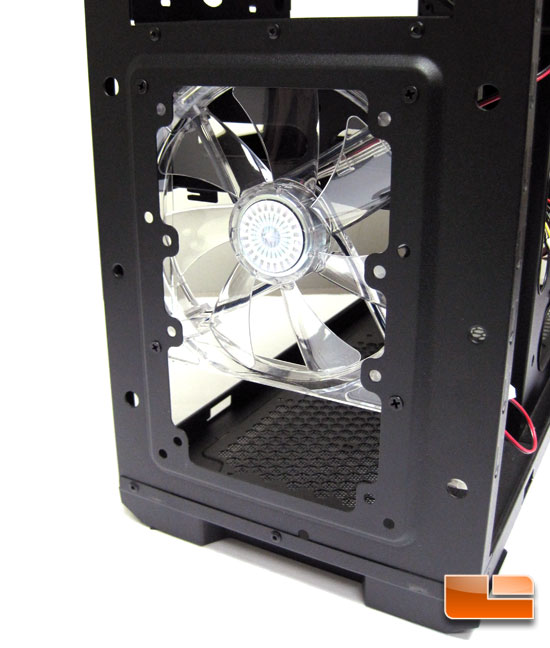
Pulling the front bezel off we can see the front 140mm blue LED intake fan. The spot here is for either a single 120mm or 140mm fan. The fan can be moved up and down to aid in putting the bulk of the fan's air where the end user wants it.
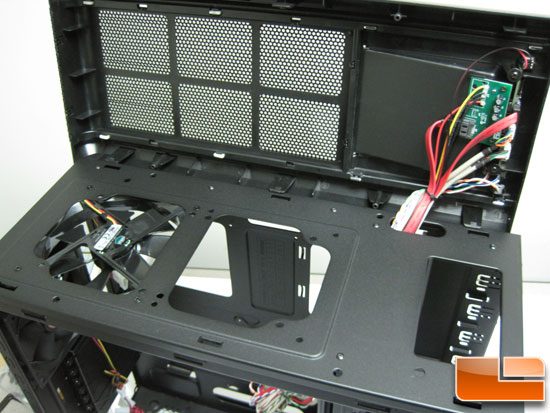
Pulling the top panel off we can see up the upper fan mounts. Cooler Master says that the top can support up to dual 140mm fans or a 280mm radiator or dual 120mm fans or 240mm radiators. Fans can also be mounted between the top bezel and the case, allowing for more headroom inside the case for radiators.
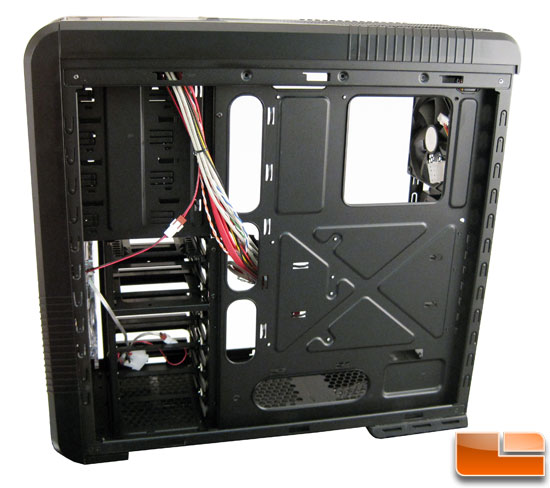
Looking at the right side we can see the back of the motherboard tray. The tray has large pass though holes for wire to be routed through. There are also many places to tie wiring out of the way.


