Updating The Firmware
Since the K-PEX 100 has been released there has been at least three firmware updates that help improve the performance level on the K-PEX 100. When the Kingston K-PEX 100 turns on it shows the firmware revision right away, so write down the version that is currently installed and head over to Kingston's Support Site to see if there is an update that you need for the firmware. In case you are wondering this review was completed using firmware version 2.12, which was the most current when this article was written. If you find that one is needed just download the 2.55MB file and follow the directions below.
KPEX100 Firmware Upgrade Instructions
1. Download new firmware and select Open or Run to extract the firmware to your computer.
2. Connect the KPEX100/xxx to the computer via the USB cable. Note: Do not power-off the KPEX100 during files transfer. If battery power is low, quick-charge the KPEX100 for 10 minutes prior to proceeding with step 3.
3. Locate the firmware upgrade previously extracted in step 1 (default destination is C:TempFILE NAME).
4. Drag-and-drop the firmware upgrade (KPEX100.rom) to the first drive letter (i.e. G:) assigned to the KPEX100 (Root).
5. Disconnect the KPEX100 from the computer.
6. The firmware upgrade will begin the next time you power-up the KPEX100.

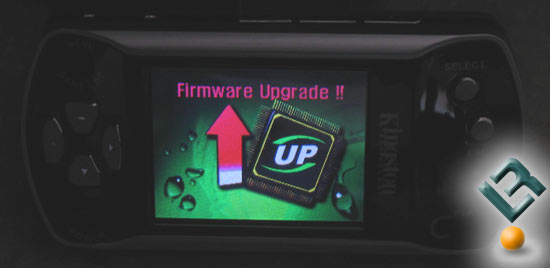
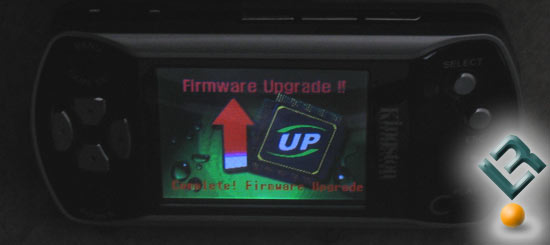
After a drag-and-drop of the firmware upgrade we powered off the media player and turned it back on. After it came back to life we saw the screen above. After about 20-30 seconds we wondered if everything was going okay, but then we saw screen pop up.

Complete! I love seeing those words after doing a firmware or BIOS update. Now with the firmware updated the device is ready to go. The total time to complete the firmware update was under five minutes and easy to do thanks to the ability to drag-and-drop the file. Easy firmware updates are a plus and is a subject that is often overlooked in reviews, but something that needs to be done on numerous devices to get peak performance.

