|
|
Thermaltake Element T Review
[Abstract]
Final Thoughts The Thermaltake Element T has its cons as every case does with less than $100 for a price tag, and at $59.99 plus shipping, I can say that it clearly ...
[Content] PCDigitalMobileGame
External Impressions

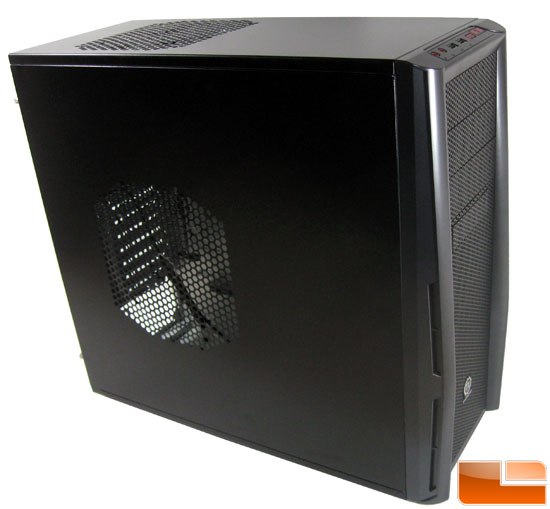
Out of the cardboard box, Styrofoam, and plastic wrap, we have this case with its 'tactical appearance' which is really not that descriptive, if I had to choose words to describe its appearance, I would go with 'simple' with more of a 'functional' outlook. This case doesn't have all the bells and whistles a lot of cases now come with like most gaming chassis. Aside from the four red LEDs in the 200mm top fan, the only other light is the HDD status indicator. I will likely use the word 'simple' frequently throughout this review, as it is my favorite aspect, because if you have a big flat side panel you are not restricted to leaving it stock, you can put a graphic on, you can paint something onto it, or you can easily mod it for airflow. Yes Plexiglas windows are nice if you want to stare in awe at your system, but how many people use it to look through frequently? It is useless in most applications, and just a pain to mod around. The only way the side panels could be improved upon would be if the primary side had room for two or more smaller fans, because how many people have 230mm fans lying around? Not many. Now, how many have spare 120mm Fans? Almost everyone, be it from previous builds or not, they are also much easier to find.

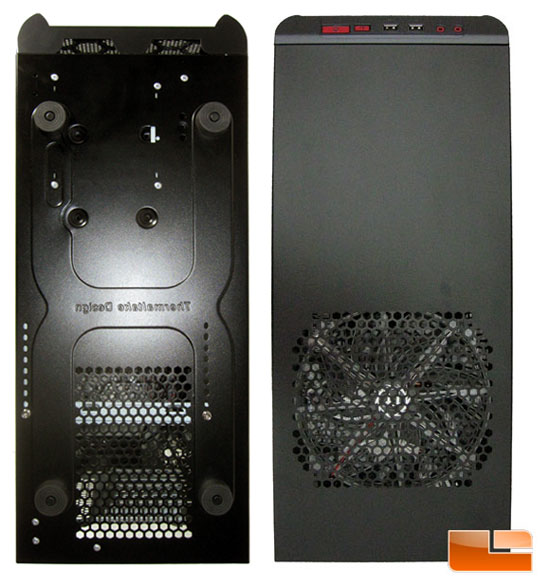
On the bottom of the case you can see the vents for the power supply as well as the bracket that supports the back end of it, which I will talk about a little later. Also notable are the 1/2" tall feet that the case stands on to ensure the vent is not just sitting on the floor choking your power supply to death. With further inspection you can see bottom of the special mounts for a 2.5" HDD.
The top of the case has a simple design similar to the sides, with the 200mm 'silent' fan directly above your CPU heatsink/fan and Reset/Power buttons as well as USB and HD Audio ports on the I/O panel.

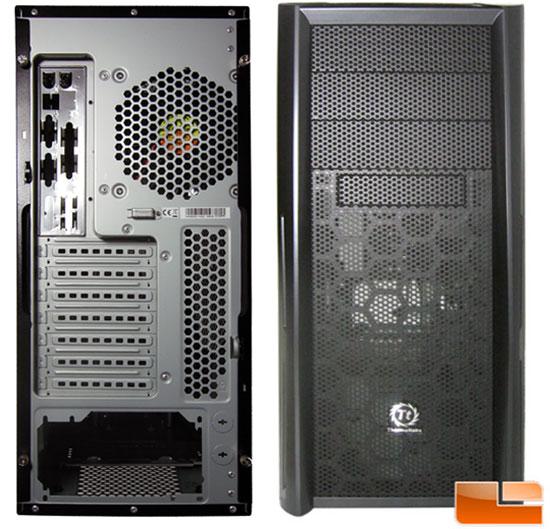
From the back end of the case you can see the Liquid Cooling pass through punch-outs next to the opening for the bottom mount PSU (reversible, for either fan-up or fan-down depending on use) along with more vents, including some in the expansion bay covers. Also note the small piece of metal sticking out between the 120mm exhaust fan and the expansion slots, that is the mouse/keyboard lock, which you will see again in assembly.
Looking at the case head-on, you can see the full mesh front panel with mesh bay covers. As you will see later, both have filters to keep crud out and limit dust (limit, not prevent). Also, toward the bottom you can see the Thermaltake logo, which appears to be slightly off center from a 120mm fan if mounted in the bottom position.

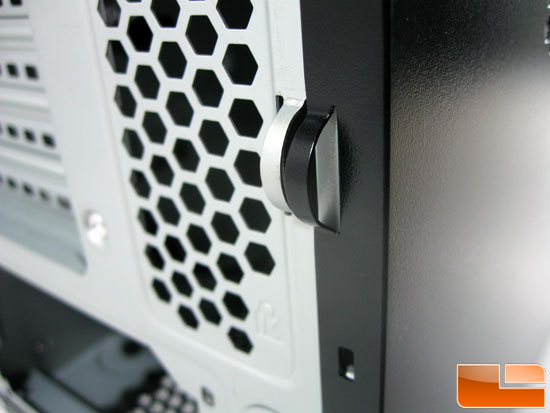
A closer look at the door lock gives you an idea of how big of a lock you will be able to use; there is certainly not enough space for a massive Master Lock, but it will accommodate most if not all locks designed for luggage, which are available at many different locations. An interesting thing to note here is that the panels are reversible (meaning you can swap the two sides around), and both panels have the notch for a lock in the same place. Depending on how much you trust other people around your masterpiece, you can either give them a glimpse of what's inside through the vent on one panel, or see nothing by swapping them. The doors themselves are also interesting to me in that they don't use the standard notches to interlock the door with the chassis. Instead, the front edge of the panel has a small U channel that wraps around a very solid rolled edge on the chassis, and the back end of the side door rests are only being held by the thumb screws behind. This is a unique method that I'm not 100% sure I like as the panels just fall off if not screwed down at the back of the case.
Now, let's take a peek at the interior of the case.

|
|
|

