Rampage Extreme BIOS Images
First and foremost, the Rampage Extreme doesn't play around when it comes to the BIOS. The first screen is the overclocking screen. This board is a purpose-built overclocking machine. No, it doesn't care about your system clock or your boot priority, it craves being tweaked.
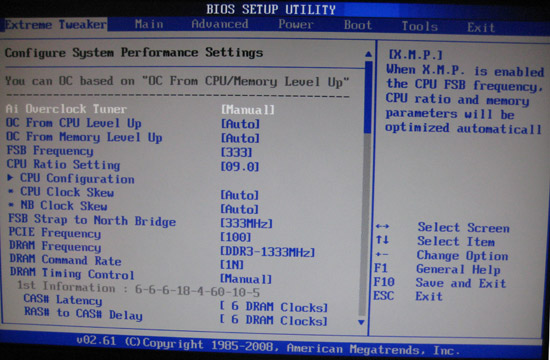

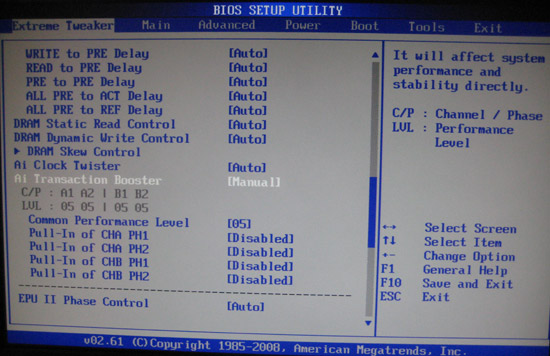
These are the options available for tweaking the board itself. Everything is in here ranging from simple FSB adjustment to complex CPU, northbridge, and DDR3 skew timings. These three images show everything available to you. There are no other menus you need, it's all right here.
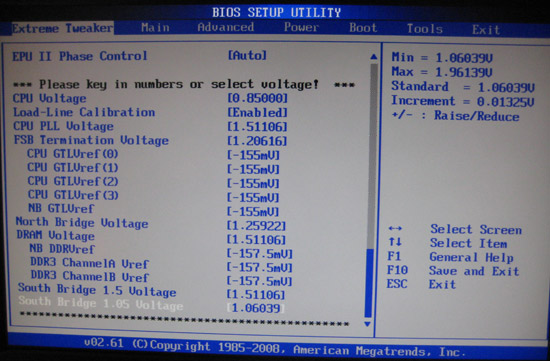
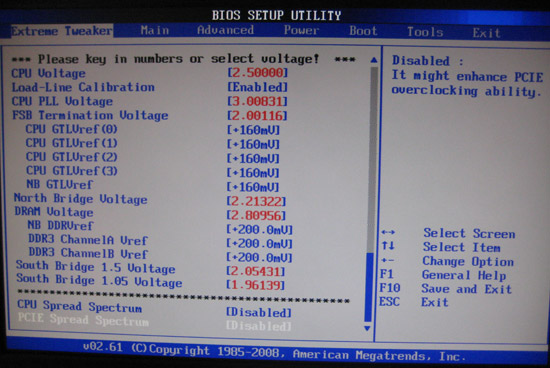
These voltage options are part of the menus above; however, I felt I should show the maximum and minimum values available to you. Just to note, the vCPU over-volts by 0.03v while the vDIMM over-volts by 0.06v. With the load-line enabled the board maintains the selected voltages. With it maintaining the Intel specified vDroop, the board reacts like all other boards with a fluctuating vCPU when coming from a load to idle.

Here you can control all the peripherals attached to the board. For 99% of the time you will want to leave everything enabled but when benching on the bleeding edge you may want to disable some or all of these features to trim down the board.

Here you can configure the ICH9R that controls the SATA ports. You can enable AHCI, IDE, or RAID modes for drive configurations. If you enable RAID you will then have to use the Intel RAID utility that pulls up after POST.
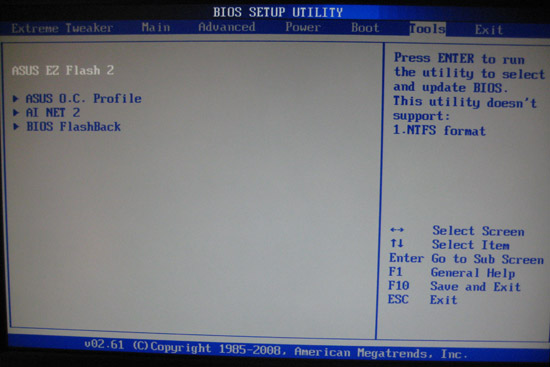
The Asus Rampage Extreme comes with a slew of utilities you can use to update or configure the BIOS. Most importantly is the Asus EZ Flash 2 which lets you flash the BIOS on the boards, which is crucial when important patches are applied to the BIOS.
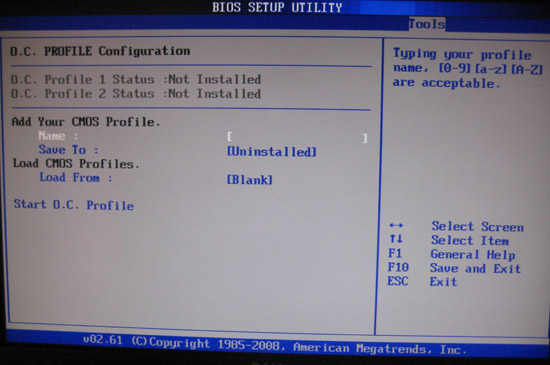
If you have ever overclocked I am sure you've had times where you screw up a BIOS setting and the board refuses to POST. Asus OC Profiles let you save two profiles just for this. I found when testing the max FSB it was best for me to save frequently so that if I messed up a setting I could quickly recover.

